
This hat combines knitting and crochet work.

I've lost the original pattern I used to make this hat, but if you're very adept at knitting you may be able to make one knowing that I started off with 53 stitches, did k1p1 for about 7 rows, and then did stocking stitch for about 18 - 20 rows. then do k3 k2tog for a row, purl a row, then k2 k2tog for a row, the purl a row, then k1 k2tog and see how that looks! :P If I can remember correctly, that's what I did - but no promises!
If you don't want to try using the above, or it doesn't work (in this case please leave a comment so I can take it off) then I suggest using this pattern. It should give a similar result, although I haven't tried it yet myself.
Make sure to use red ARAN wool for the hat to make it nice and warm, and then DK white and black.
So, once you've made your hat, you need to make the face!
This pattern uses US terms.
Start with the eyes - using black DK and a 4mm crochet hook (make two)
R1: Make a magic ring and ch3, then do 6 dc into the ring. Pull the end so you make a round black eye like this:

Next make the back of the eys - using white DK and 4mm hook (make two)
R1: Make a slip stitch and ch17 + 1 for turning.
R2: Turn and sc in 2nd ch from hook. Sc in the next 8. Ch1 for turning.
R3: Turn and sc in each of the 9 stitches. (Note: we do not ch1 one for turning now because we are trying to make a triangular shape!)
R4: Turn and sc in the stitch made BEFORE the last stitch you made on row 3. Sc in remaining 7 stitches.
R5: Turn and sc in the stitch made BEFORE the last stitch you made on row 4. Sc in remaining 6 stitches.
R6: Turn and sc in the stitch made BEFORE the last stitch you made on row 5. Sc in remaining 5 stitches.
R7: Turn and sc in the stitch made BEFORE the last stitch you made on row 6. Sc in remaining 4 stitches.
R8: Turn and sc in the stitch made BEFORE the last stitch you made on row 7. Sc in remaining 3 stitches.
Hope you understood that! They should look like these:

Now onto the nose - using black DK and 4mm hook
R1: Ch 6 + 1 for turning.
R2: Sc 6 (Note: we do not ch1 one for turning now because we are trying to make a triangular shape!)
R3: Turn and sc in the stitch made BEFORE the last stitch you made on row 2. Sc in remaining 4 stitches. R4: Turn and sc in the stitch made BEFORE the last stitch you made on row 3. Sc in remaining 3 stitches.
R5: Turn and sc in the stitch made BEFORE the last stitch you made on row 4. Sc in remaining 2 stitches.
R6: Turn and sc in the stitch made BEFORE the last stitch you made on row 5. Sc in remaining stitch.
The nose should sit in between the eyes like this:

Now it's time to make the ears!
Using red ARAN wool used for the hat and 4mm hook (make two)
R1: Ch 7 + 1 for turning.R2: Sc in all 7 stitches (Note: we do not ch1 one for turning now because we are trying to make a triangular shape!)
R3: Turn and sc in the stitch made BEFORE the last stitch you made on row 2. Sc in remaining 5 stitches.
R4: Turn and sc in the stitch made BEFORE the last stitch you made on row 3. Sc in remaining 4 stitches.
R5: Turn and sc in the stitch made BEFORE the last stitch you made on row 4. Sc in remaining 3 stitches.
R6: Turn and sc in the stitch made BEFORE the last stitch you made on row 5. Sc in remaining 2 stitches.
R7: Turn and sc in the stitch made BEFORE the last stitch you made on row 6. Sc in remaining stitch.
R8: Turn and sc in the stitch made BEFORE the last stitch you made on row 7. Bind off.

Using white DK and 4mm hook (make two)
R1: Ch 7 + 1 for turning.R2: Sc in all 7 stitches (Note: we do not ch1 one for turning now because we are trying to make a triangular shape!)
R3: Turn and sc in the stitch made BEFORE the last stitch you made on row 2. Sc in remaining 5 stitches.
R4: Turn and sc in the stitch made BEFORE the last stitch you made on row 3. Sc in remaining 4 stitches.
R5: Turn and sc in the stitch made BEFORE the last stitch you made on row 4. Sc in remaining 3 stitches.
R6: Turn and sc in the stitch made BEFORE the last stitch you made on row 5. Sc in remaining 2 stitches.
Change to black DK
R7: Sc 3.
R8: Turn and sc in the stitch made BEFORE the last stitch you made on row 7. Sc in remaining stitch.
R9: Turn and sc in the stitch made BEFORE the last stitch you made on row 8. Bind off.

Now sew the two ear parts together (the red and the white&black), and sew the black eyes onto the white that sits behind them. Sew the nose straight onto the hat, and then the whites/eyes around it. Put the ears onto the top of the hat and you're done!
To join the ear pieces together I used single crochet - it gives it more shape.


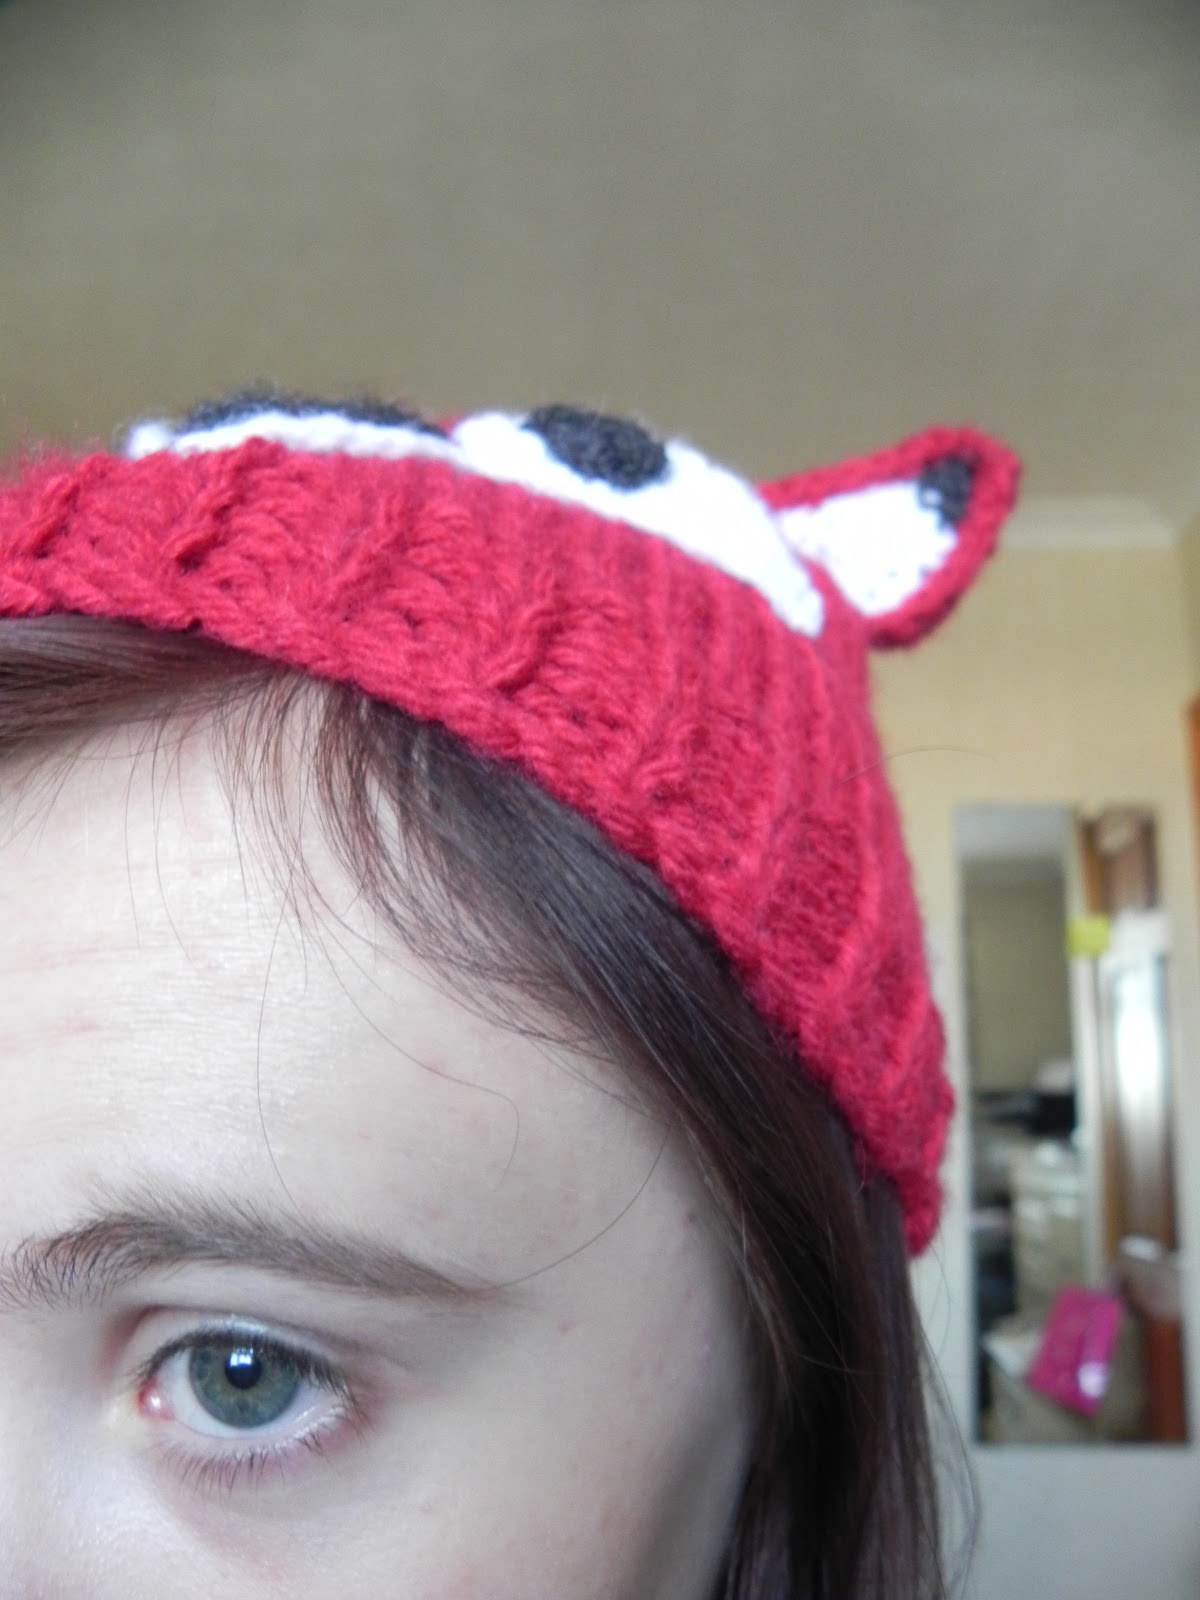
Tadaah!


.JPG)
.JPG)

