Showing posts with label crochet. Show all posts

Friday, 28 June 2013

Etsy store opening!

Hurrah! Finally, my Etsy store is open! I only have one product at the moment, but will have more very very soon! But, get ready to meet...


Max and Rocky! The Fox and Raccoon duo!


I've had a really great time designing these two, and hope others will get as much joy from them as I do!

Thursday, 6 June 2013

Simple Tunisian Crochet Gloves

If you follow me on Instagram you'll know that lately I've been pretty addicted to Tunisian crochet. This is a crochet technique that involves putting stitches on the hook in one row, and then removing them in the next. It's really simple, and although it takes a bit more time to work up than regular crochet, it produces such a lovely warm piece!

This pattern is great for beginners, and so I'll write it how a beginner would understand it. Writing things in this way was so helpful to me when I was learning, so I hope this will be easy to follow.

You will need:
- 4.5 Tunisian/Afghan crochet hook (as we are using DK weight yarn it is recommended to use a size or two above what you'd normally use. So, if you're using sock or chunky weight for your gloves, keep this in mind!)
- 100g DK weight wool (here I've used Stylecraft Special DK)
- Darning needle
- Ruler

Firstly, there are some measurements you'll need to make:


A = Your wrist span + 2cm. This will tell you roughly how many chain stitches to make at the beginning. This is only roughly, though, because once you've done a few rows you may find it will be too big/small for your wrist and go back and make adjustments.

B = How long you want the cuff to be.

C = The length from your wrist to where your thumb is joined to your palm. This will decide how long the widest part of the glove needs to be.

D = The entire length of your wrist to roughly the tops of your knuckles. This is flexible, and will depend on how you like your gloves to sit - I like mine just above my knuckles, but you may prefer yours below if you're going to be moving your fingers a lot in these.

Here are my measurements, for reference:
A = 8cm, B =10.5cm, C = 5.5cm, D = 8.5cm

So, in the pattern, where you see my measurements in this font, be sure to swap in your measurement! The measurement needed will be in brackets.

To start, I suggest watching these videos: how to start and the basic stitch, how to increase stitches, and how to decrease. Note there are two ways to decrease - you can do either! I use the second one that is demonstrated in this video.

In the case of increasing, you will need to use the increases described in the video at 0:38 and at 3:18.

Ready? Good!

Step 1: My (A) measured 8cm and I chained 32 to begin with. If your A is less than mine chain less, or if it's bigger than 8cm, chain a few more.

Step 2: Work the basic Tunisian stitch into each chain. Continue to do the forward (pulling up the loops) and reverse (removing the loops) rows until your piece measures (B) 10.5cm. End on a reverse.

Step 3: Now increase by 1 at the beginning of the row (shown here at 0:38), then pull up loops along the row as you would normally, and then increase by 1 at the end of the row (shown here at 3:18). Do the reverse row as normal.

Step 4: We're going to be increasing again, so: increase by 1 at the beginning of the row (shown here at 0:38), then pull up loops along the row as you would normally, and then increase by 1 at the end of the row (shown here at 3:18). Do the reverse row as normal.

Step 5: Increase one more time: increase by 1 at the beginning of the row (shown here at 0:38), then pull up loops along the row as you would normally, and then increase by 1 at the end of the row (shown here at 3:18). Do the reverse row as normal.

Step 6: Now work the basic Tunisian stitch until your piece measures (C) 5.5cm. End on a reverse.

Step 7: Now we are going to decrease by 2 stitches. To do this, decrease (shown here) by 1 stitch near the beginning of the row - in either the first or second stitch. Then pull up loops as normal until you reach near the end, and decrease by 1 stitch there too. Do the reverse row as normal.

Step 8: Now work the basic Tunisian stitch until the piece measures (D) 8.5cm from the very first increase row to the top, or if you like, until the whole piece measures (B + D) 19cm. End on a reverse.

(It is now up to you how you bind off - I like to leave the stitches how they are and just bind off as you would with normal crochet, but you could single crochet into each of the loops on the last row!)

Step 9: Now fold the piece in half and sew up, remembering to not to sew from the row in step 3 up to the row in step 7 as this will be the thumb hole!

And there you go! Make two of these and you'll have yourself a warm yet not restrictive pair of fingerless gloves :)


Of course, if you have any questions or would like a photo tutorial, please comment and I'd be happy to help!

Friday, 10 May 2013

Katie's Dolphin!

I created this lovely dolphin for my friend Katie, who is crazy about dolphins. The pattern is really easy to follow, and although it isn't free, it's not much to pay for a birthday/Christmas present!

I had a lot of fun making this, and can't wait to give it to her. :)


Monday, 1 April 2013

Rosie's Baby Blanket!

Now that I've finished Rosie's blanket (yay!) I thought I could show you in a bit more detail how I went about making it.

I used double knitting yarn - it doesn't really matter what type as long as it's a baby brand to make sure it's really soft and gentle! - and a 4.00mm hook. You can use a larger or smaller hook but it will make the blanket larger or smaller respectively.

My blanket is 6 x 5, and I wanted to only put flower squares on the corners to make them a bit more special. This meant I needed 26 normal granny squares and 4 flower squares.

A pattern similar to the one I used to make the granny squares can be found here. This pattern is in UK terms, but for US terms simply change any treble crochets to double crochets. In order to make them the same size as the flower squares you'll need to do a total of 4 rounds (the guide only shows 3) and then do a row of single crochets around the edge to finish.
The pattern I used to make the flower squares is here. This pattern is in US terms.

Use this picture as a guide of how many squares of each colour to make and the colours for the flowers.


Once you've made all the squares you'll need to join them. Due to the single crochet edging the best way to join them is using this method.

Now for the border. I wanted my border to be very simple as I didn't want to distract from the flowers, so I opted for doing a row of double crochets (US) in pink all around into every single crochet - when it gets to the join you can either double crochet just into the single crochets you see, or double crochet into the join (which is what I did):


As for the corners, I just made a corner roughly where the corner of the flower square was by doing a double crochet into the single crochet of the corner, ch1 then double crochet into the same stitch.
I hope that's easy to understand, but if not leave a comment and I'll be happy to do a tutorial!

Then I went round, as you can see, in white doing the same again, then finally a single crochet row in pink.


Remember the granny squares I was making here? I finally finished making them and have been going through the long process of joining them! I've used this method - it gets easier once you get the hang of it and I think it looks really effective.


I really like how it's coming together and I can't wait to finish it off!


Saturday, 9 March 2013

A Blanket For Rosie

My cousin has just had a baby, and as soon as I met little Rosie I fell in love! So I've made it a mission to make her a baby blanket. Yes, I know it's a bit late, but how did I know she was going to be so adorable?

To make it simple, I've opted for using mostly plain granny squares with a few flowers dotted here and there.
The pattern for the granny square can be found anywhere - I got mine from this book.


For the flower square I used this pattern from rose hip - it's absolutely gorgeous and perfect for adding a personal touch. My only change was between rows 5 and 6, as I wanted the square to be a little bigger so I added another round of *3dc ch1* etc.


Doesn't it look so pretty?

I can't wait to see it finished!

Thursday, 29 November 2012

Falling behind...

I realise I haven't posted a Sunday baking in a while. A long while. Last Sunday we didn't get a chance to back seeing as my boyfriend and I were so busy with uni/school work, and the Sunday before that... Well. We decided to make some White Chocolate cupcakes from a recipe mum had mysteriously found and couldn't remember where from.

It did not go well.

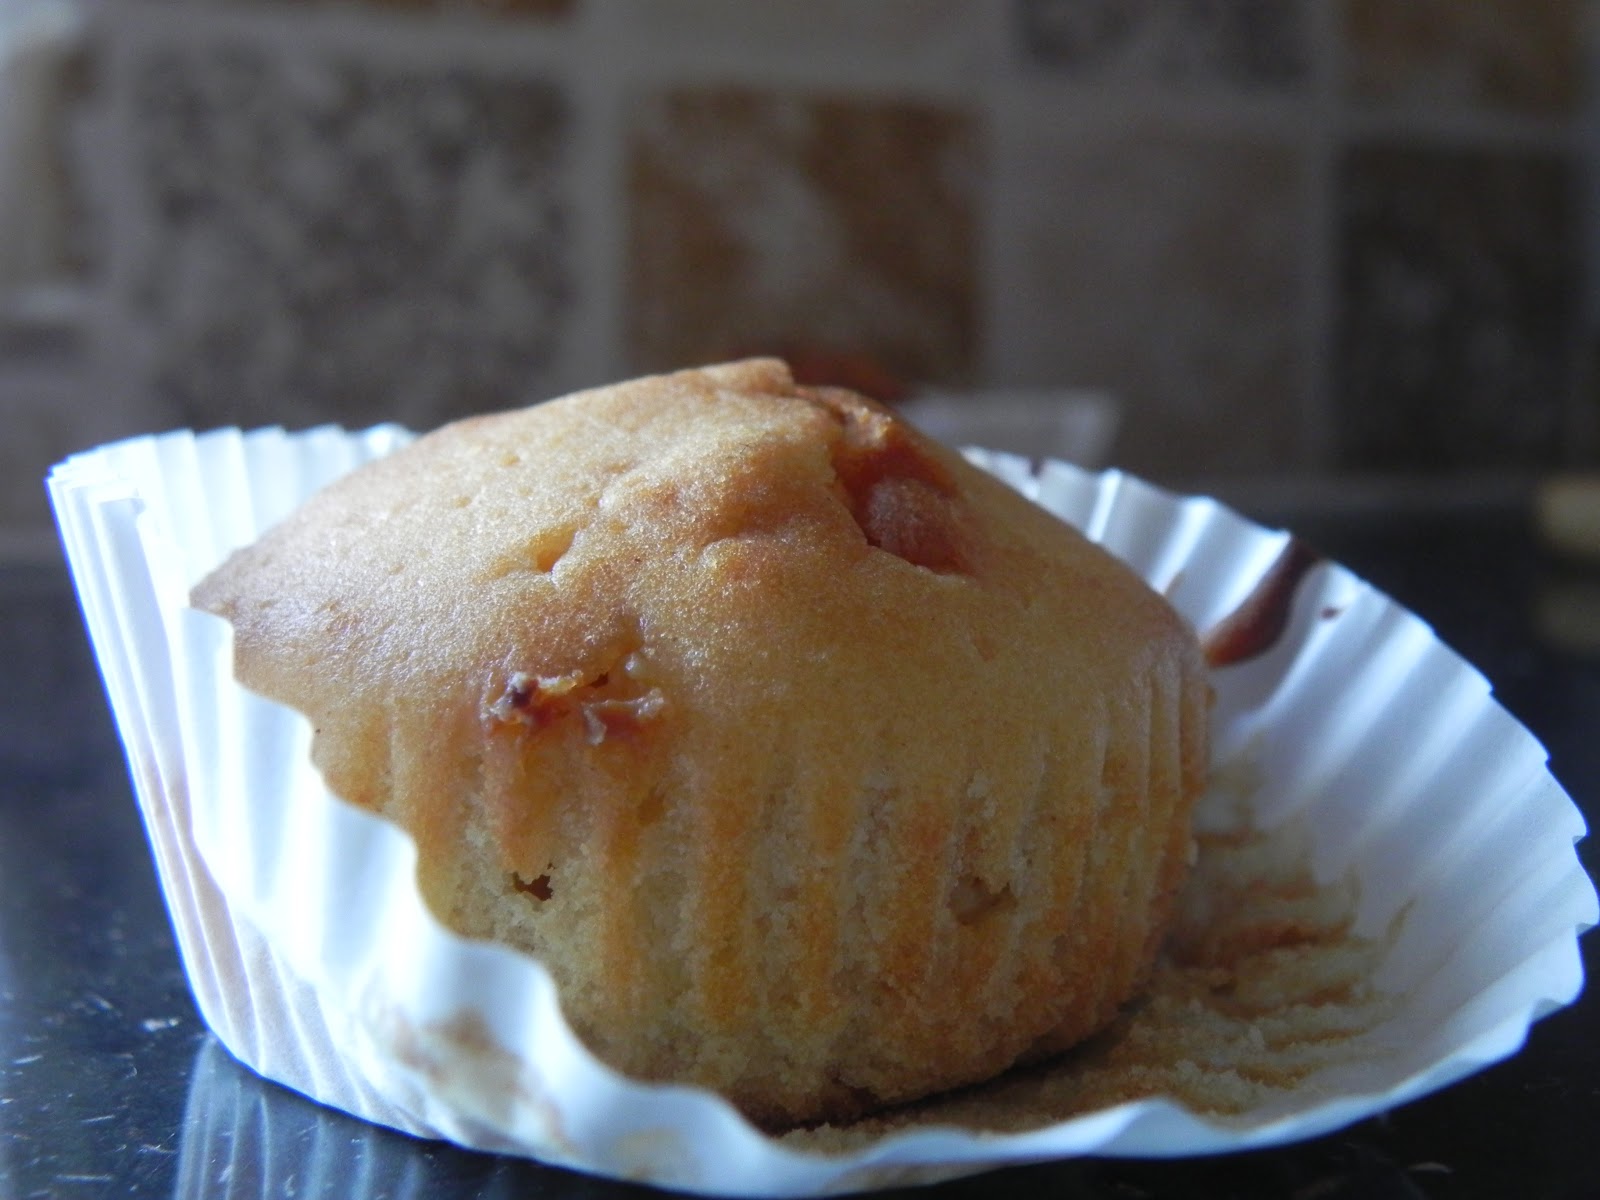
They tasted nice when they were just out of the oven - gooey white chocolate lumps with a bit of a crunchy topping... mmmmm. But as soon as they were left to cool - duhn duhn duuh - they were horrible! They tasted more like scones than anything else. Very dry for a cupcake.


Don't be fooled by how they look! You can tell in the first picture how little they rose, even though the recipe asked for a whole table spoonful of baking powder!


On the plus side I am making a scarf for my friend for Christmas, and as soon as it's finished I'll post the pattern. It's super easy and makes up pretty quickly as it uses chunky wool! I'm also making this cute dolphin for my dolphin-obsessed friend, and it's turning out great so far.

Tuesday, 13 November 2012

Poppy pattern


As you probably know it was remembrance Sunday this Sunday, and so instead of Sunday baking I decided to make a crochet poppy. Don't worry, I still donated :) So, here we go! You'll need a 4.00mm hook and some red and some black DK wool.


R1: Make a magic circle and chain 3


R2: Dc 11 times into the circle and join with a slip stitch to the beginning ch3.


R3: Ch3, then dc into the same stitch. Dc twice into the next two stitches. Dc once into the next stitch. Now we're going to dc into the same stitch, but this time into the front of the stitch. I hope these pictures explain things better!


Now slip stitch into the next stitch. Ch3, and dc into the same stitch. Dc twice into the next two stitches. Dc once into the next stitch. Now we're going to the "dc into the same stitch, but this time into the front of the stitch" thing again:


^ This is what it should look like by now. Do you see how doing the 'dc into the front of the stitch' makes the petals more defined?

Slip stitch into the next stitch and ch3, and dc into the same stitch (we're basically going to repeat the last petal again, but if you need it I'll write it again :P ). Dc twice into the next two stitches. Dc once into the next stitch. Dc into the front of the same stitch. Finally, slip stitch into the ch3 we did at the very start in R1.


Ta-dah! You can either leave the poppy like this, or make a black circle to put in the middle by making a magic circle, chaining 2 and then doing 7 or so single crochets into the circle and pulling it tight.


Now just sew the black circle into the middle and sew the remaining ends in :)


You can either use a safety pin to attach it, or do like I did at put it onto a ball-chain-lock thingy to hang it from my school bag :)


Enjoy!

Saturday, 27 October 2012

Halloween hat & gloves pattern!


Seeing as I'm not one for dressing up in skimpy outfits in freezing October, I thought the best way to get into the Halloween spirit was to make up some practical things! And here they are, my Halloween hat and gloves...

For both use a 4.00 mm hook and DK wool. You will need just under 100g of orange and a little bit of green. (Pattern in * -- * is repeated to the end of the round.) This pattern uses US crochet terms.


Hat: using orange DK

R1: Ch6 and join with slip stitch to form circle

R2: Ch3, DC 17 times in circle and slip stitch to beginning Ch3 (18)

R3: Ch3, DC into the last round’s Ch3, then DC twice in each stitch. Slip stitch to beginning Ch3 (36)

R4: Ch3, DC twice into next stitch, *DC, DC twice in next stitch*. Slip stitch to beginning Ch3 (54)

R5: Ch3, DC into next stitch, then DC twice into following stitch. *2DC, DC twice in next stitch*. Slip stitch to beginning Ch3 (72)

R6: Ch3, DC into next two stitches, then DC twice into third. *3DC, DC twice in next stitch*. Slip stitch to beginning Ch3 (90)

R7: Ch3, DC into next three stitches, then DC twice into fourth. *4DC, DC twice in next stitch*. Slip stitch to beginning Ch3 (108)

R8: Ch3, DC into next four stitches, then DC twice into fifth. *5DC, DC twice in next stitch*. Slip stitch to beginning Ch3 (126)

R9: Ch3, DC into next five stitches, then DC twice into sixth. *6DC, DC twice in next stitch*. Slip stitch to beginning Ch3 (144)

R10: Ch3, DC into next six stitches, then DC twice into seventh. *7DC, DC twice in next stitch*. Slip stitch to beginning Ch3 (162)

R11: Ch3, DC in all. Slip stitch to beginning Ch3 (162)

R12: Ch3, DC in all. Slip stitch to beginning Ch3 (162)

R13: Ch2, SC in 3, dec 1. *SC in 4, dec1*. Slip stitch to beginning Ch2 (135)

R14: Ch2, SC in 2, dec 1. *SC in 3, dec1*. Slip stitch to beginning Ch2 (108)

R15: Ch2, SC in 1, dec 1. *SC in 2, dec1*. Slip stitch to beginning Ch2 (81)

R16: Ch2, dec 1. *SC in 1, dec1*. Slip stitch to beginning Ch2 (54)

R17: Ch2, SC in all. Slip stitch to beginning Ch2 (54)

R18: Ch2, SC in all. Slip stitch to beginning Ch2 (54)

R19: Ch2, SC in all. Slip stitch to beginning Ch2 (54)


Gloves (make two): starting with orange DK

It is important you keep track of the beginning stitch of every round for this, so make sure to use a stitch marker! Or be in a quiet room where you can count to your hearts content..

R1: Ch10 + 1 for turning. Turn (10)

R2: SC in all. Ch1 for turning, then turn. Repeat this another 24 times (so 25 rows of SC in total) or enough to go around your wrist.

R3: Slip stitch the top to the bottom. Bind off.

R4: Work single crochets all around. To fit my hand I single crochet 27 around, and I will use 27 when writing stitch counts at the end of each row – but bear in mind I have slightly smaller hands than average, so if you have particularly large hands, your yarn is not very giving or making this for a man I suggest increasing the number of single crochets in this round.

R5: SC in beginning stitch, SC twice in the next two stitches, then SC all round. (29)

R6: SC in beginning stitch and following stitch, then SC twice in the next two stitches. SC all round. (31)

R7: SC in beginning stitch and following two stitches, then SC twice in the next two stitches. SC all round. (33)

R8: SC in beginning stitch and following three stitches, then SC twice in the next two stitches. SC all round. (35)

R9: SC in all (35)

R10: SC in beginning stitch, Ch5, skip 10 stitches and SC in the 11th. SC all round (30)

R11: SC in all (30) Repeat another 5 times.

Now change to the green DK

R12: SC in all (30) bind off.


Leaf (make three): using green DK

Use this pattern to make your leaves - I made three of the same size and attached one to the back of my hat and one onto the top of each glove. Alternatively you could make smaller ones to go around the top or cuff of your gloves!

Here are some pictures of the final products...


I hope you get to make these for Halloween! I'd love to see any pictures you have of anything you make using my patterns, so just email them to me at dottymiss.x@gmail.com :)